Thinking About a Concrete Project?
So, you're looking to add some concrete around your place. Maybe a new patio for those summer cookouts, a sturdy walkway, or even a foundation for that shed you've been dreaming about. That's great! Concrete is a fantastic material when it's done right. It's durable, versatile, and can really boost your home's curb appeal and functionality. But let's be clear: while some small concrete jobs might seem like a weekend warrior's dream, there's a lot more to it than just mixing a bag and pouring it out.
I've been doing this for a long time here in East Greenwich, and I've seen my share of projects, both good and bad. This guide is all about giving you the straight scoop on what you need to know before you even think about getting your hands dirty, what to expect during the job, and how to make sure your new concrete lasts.
Before You Even Start: Planning & Prep
This is where most DIY concrete projects go sideways. Proper planning and preparation are crucial. You can't just skip steps here; the ground needs to be right, or your concrete won't last. Trust me, I've seen patios crack within a year because the base wasn't done correctly.
- What's the scope? A small, non-structural slab, like a pad for your trash cans, might be something you can tackle. Anything larger – a driveway, a load-bearing slab, or anything with slopes for drainage – that's when you really need to consider calling in the pros. The risk of costly mistakes goes way up with bigger projects.
- Permits: Don't forget to check with the town of East Greenwich building department. Even for something like a new patio, you might need a permit, especially if it's over a certain size or affects drainage. You don't want to get halfway through and then have to tear it all out.
- Excavation & Base: This is probably the most critical step. You need to dig out the area to the right depth, accounting for the concrete thickness and a solid base. Here in East Greenwich, we've got a lot of varied soil, from sandy loam to heavier clay, especially down near the waterfront. You've got to understand your soil. You'll need a compacted gravel base – usually 4-6 inches of crushed stone. This provides drainage and prevents settling. If you don't compact it correctly, your concrete will crack. Period.
- Forms: You'll need sturdy forms to hold the concrete in place. These are usually made from wood or metal. They need to be level, square, and strong enough to withstand the pressure of wet concrete.
- Reinforcement: For anything beyond a very thin, non-structural slab, you'll need reinforcement. This could be wire mesh or rebar. It helps control cracking and adds strength. It needs to be properly supported so it's in the middle of the slab, not just sitting on the ground.
If you're not comfortable with any of these steps, or if the project is anything more than a small, simple pad, it's time to call someone like us at New Look Concrete & Masonry. We've got the equipment and the experience to get the base right, which is half the battle.
During the Pour: It's a Race Against Time
Once the concrete truck arrives, things move fast. Concrete starts to set quickly, especially on a hot Rhode Island summer day. This is where experience really pays off.
- Mixing & Pouring: If you're mixing bags yourself, make sure you follow the instructions precisely. Too much water weakens the concrete. If you're getting a truck delivery, they'll handle the mix, but you need to be ready to work.
- Spreading & Screeding: You'll need to spread the concrete evenly and then 'screed' it – which means leveling it off with a straight edge, usually a 2x4, resting on your forms. This takes a bit of practice to get it flat and even.
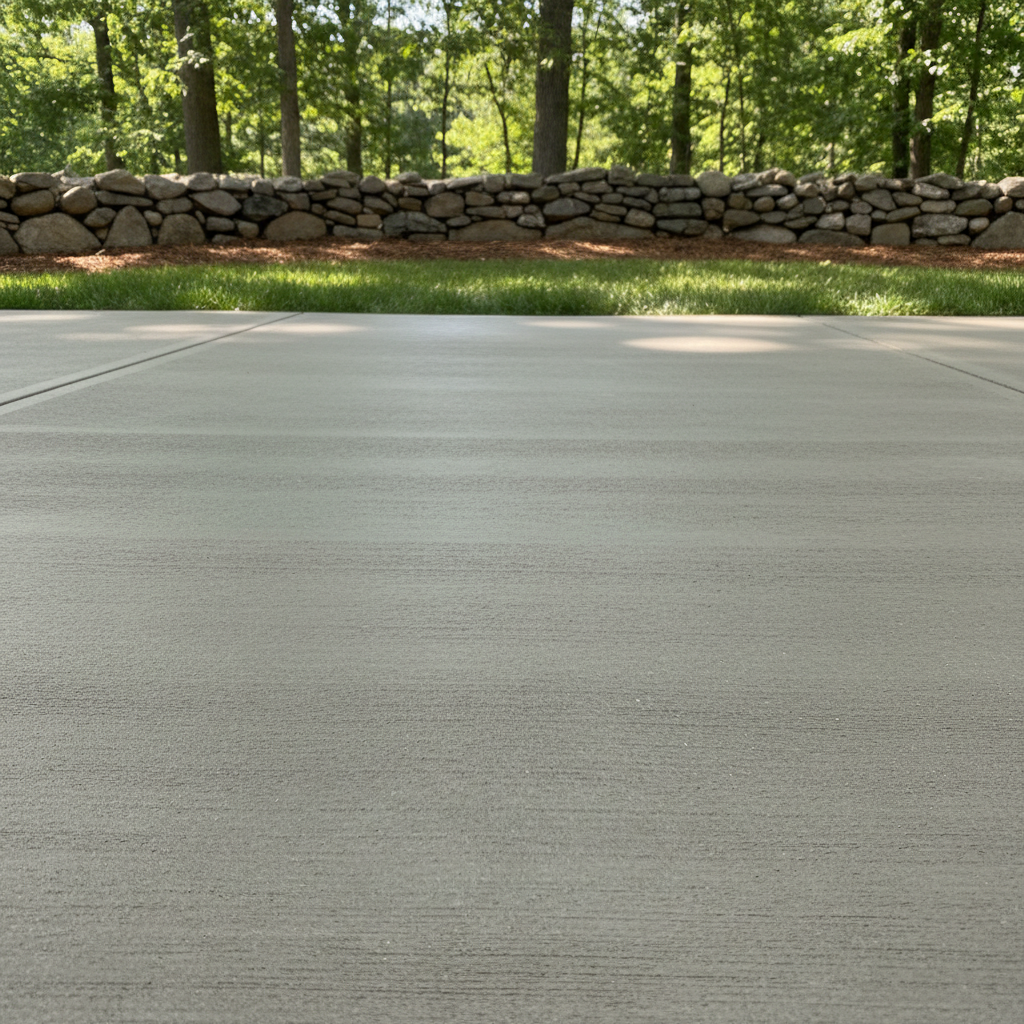
- Floating & Finishing: After screeding, you'll wait a bit for the concrete to lose some of its wet sheen. Then you use a bull float or hand float to smooth the surface, push down any aggregate, and bring up the 'cream.' This is where you start to get that nice, smooth finish. Depending on the desired look, you might then use a trowel for an even smoother finish or a broom for a slip-resistant texture. This timing is critical; too early and it's soupy, too late and it's too hard to work.
For most homeowners, getting the timing and technique right for floating and finishing is tough. It's an art form, honestly. If you want a professional-looking finish that drains properly and isn't a tripping hazard, this is another area where a pro is worth every penny.
After the Pour: Curing is Key
You've done the hard work, but you're not done yet. Curing is just as important as the pour itself. This is how your concrete gains its strength.
- Keep it Wet: Concrete doesn't 'dry'; it cures through a chemical reaction with water. You need to keep it moist for at least 3-7 days, ideally longer. You can do this by misting it with water, covering it with plastic sheeting, or using a curing compound. If it dries out too fast, it'll be weaker and more prone to cracking.
- Protect it: Keep foot traffic off it for at least 24-48 hours, and don't drive on it for at least a week, preferably longer for full strength.
- Cold Weather Considerations: If you're pouring in cooler weather, like we often get here in the fall and spring, you need to take extra precautions. Concrete needs warmth to cure properly. Freezing temperatures can ruin a fresh pour.
So, there you have it. Concrete work is rewarding, but it's not something to jump into blindly. For small, non-critical pads, you might give it a shot. But for anything that needs to last, look good, and handle the elements, you're usually better off calling a local professional. We're here to help if you need us.